

| Parameter | Description |
|---|---|
MFALogonWindows | Require biometrics when powering on the machine |
MFAUnlockWindows | Require biometrics on unlock |
BlockKeyBoardShortCuts | Blocks keyboard shortcut keys |
BreakGlass | Disables all functions (default "false") |
ClientURL | Client portal URL (facesign app) |
MonitoringURL | Monitoring link (internal use) |
ClientID | Unique client ID (facesign app) |
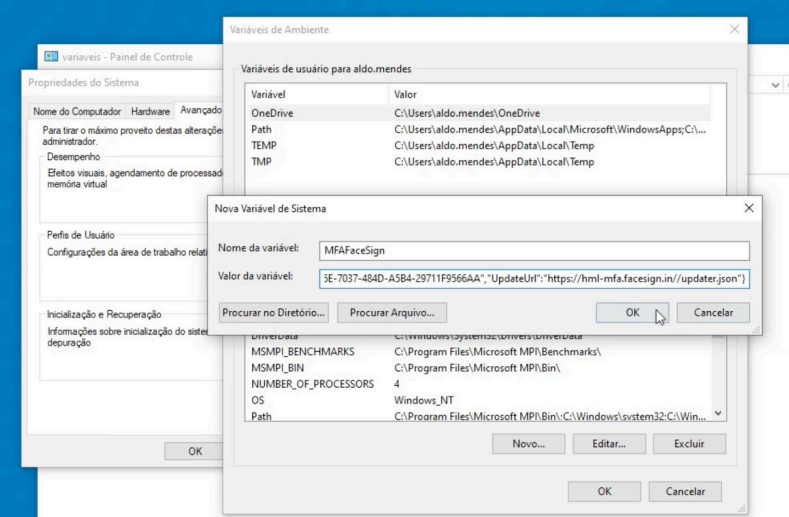
UpdateURL | Version update URL |


